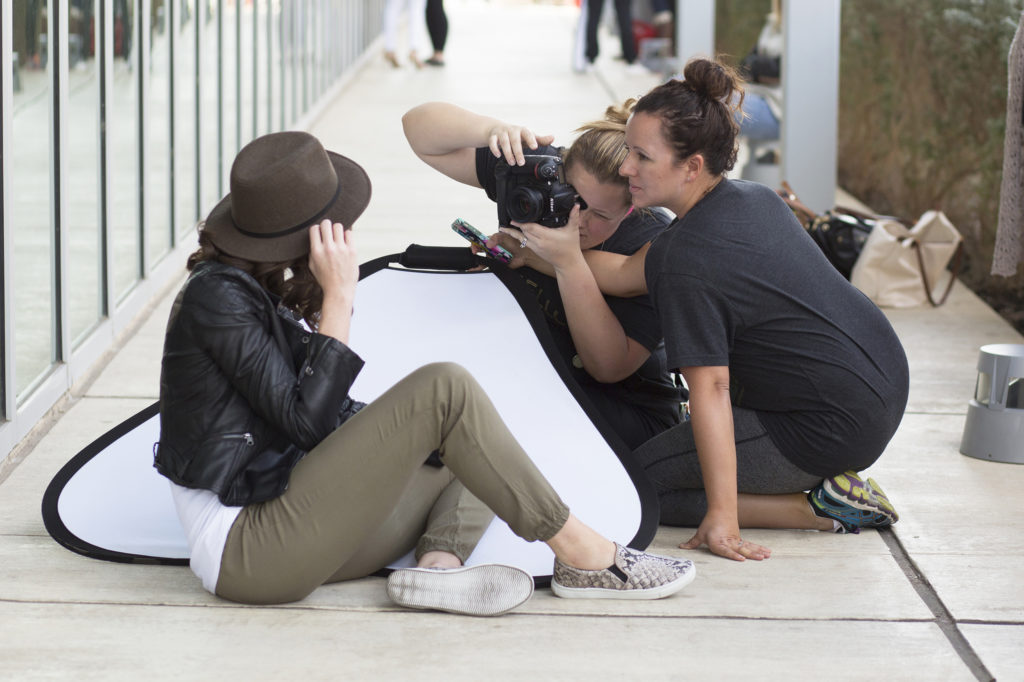
How long does it take you to cull through one of your sessions?
When photographers ask me this question and I answer with “Maybe 10 to 15 minutes, tops.” their eyes get big and they scream, “That’s it?!?! 10 minutes?! What the heck am I doing wrong?! It takes me at least an hour!”
I’ll be honest with you… during a 2 hour session, I will take maybe 75 – 100 images, total. That’s it. Any more than that and I’m not only wasting my time, but I’m depleting the session past the point of progressive production. Yes, I still get candids and action shots, but I’m much more purposeful with my shooting than most, and I am finally sharing with you the steps I take to do so.

Here’s 3 mistakes you may be making that are giving you a culling headache:
1. You’re not purposefully posing your client.
When you’re unsure of your pose, you may be shooting way more images than needed while you’re trying to find the specific look you want. Consider trying to create the pose you want BEFORE you ever click the shutter and once you have it, move on to the next pose or prompt. No need to move the head a tiny bit, or barely change a pose once it’s already captured.
I like to shoot flow poses that allow me to create several unique and sellable images from the foundation of a single pose. This not only saves on time, but I don’t have my client hopping around all over the place expending energy. I start with wider shots, then move in closer to my subject while changing the orientation of my frame, my angles, my subject’s expression, and smaller limb movements like bringing her hands closer to her face as I move in closer.
2. You’re overshooting your session.
Ask yourself: How many images are you going to show your client for their image reveal or gallery? If you’re going to show 50, then why are you shooting 250+? Really work on getting your number to DOUBLE what you want to show so that you don’t spend non-billable hours sifting through a sea of images.
How do you build up to that goal? Only give yourself X amount of images per outfit.Then? Once you feel comfortable with that, I want you to only give yourself X amount of images PER POSE! I just heard your heart stop.
What will really help you focus on this is to DEACTIVATE your burst mode abilities on your camera body, in your settings. Burst Mode is a term that describes what happens when you continuously hold down the shutter on your camera. If your burst mode setting is turned on, it will continue to take image after image rapidly. If it’s turned off (or slowed way down – which you can control in your settings), it doesn’t matter how long you press the shutter – it will only take ONE FRAME. This will take a bit of research (and manual reading) but it’s 100% worth it. Some bodies have “single shot” mode and some will just slow down the “continuous shooting” abilities. Either way, check it out, make the change, and reap the results. BOOM.
I’ve seen tons of photographers fire away at a single pose and FOR WHAT?!? So you can spend more time culling between half a centimeter difference of the angle of your subject’s head throughout a set of 7 images? NO NO NO. Stop taking 3-5-7-10 images of the same exact pose. The time spent is just not worth it. So, on your next shoot tell yourself that you will allow only 15 images per outfit. Watch what happens. You’ll suddenly start slowing down and really examine your frame and become way more purposeful than you were before.
3. You’re not creating the image you want in frame.
In order to get your culling time down, you MUST be extremely purposeful in all aspects of shooting: composition, light, posing, and even allowing framing for products. The biggest tip here is to SLOW DOWN on your shoot and don’t press that shutter until you have the exact image you want in your viewfinder. And once you have it, move on to the next image.
One of the top issues I see when watching photographers shoot (and I see a lot of it at my workshops and conferences) is how fast they process through a single shot. Most photographers will bring the camera up to their eye and shoot the frame within 3-5 seconds from each other. Then they’re moving on to the next image. STOP IT. I want you to be VERY aware of this on your next shoot. Notice how long it takes you to set up your shot IN CAMERA. If you’re shooting within 5 seconds of bringing the viewfinder to your eye, you’re not processing the frame before you capture it and that means you’re not being purposeful in your skill.
Here’s 3 things you can do to slow down and get the frame right:
- Keep the viewfinder glued to your eye before capturing the image: the act of taking it off your face really prohibits your ability to see what the shot will look like in camera. You need to examine the frame as it is, in camera, before pressing the shutter.
- While the camera is on your eye, look at the edges of the frame. Are you cropping any limbs? Is your subject exactly where you want her to be? What’s your composition? And most importantly… is there an even amount of spacing (and plenty of it for cropping or canvas production) between your subject and the edge of the frame? This is the time to MOVE with your camera up to your eye. Fix your distance to your subject and correct your composition with your camera on you. THIS exercise, alone, has the power to be portfolio changing!
- Getting blurry images? First, check your ISO of course, but next check yo’self! I’ve seen so many photographers with really bad shooting stances that actually effect the sharpness of their images. I can’t tell you how many photogs I’ve had spread their feet AT LEAST shoulder width apart and tuck their elbows in – and when they see the image they just shot, freak out because it made a huge difference. A lot of photogs are moving through the session so quickly that they’re not even still during their shutter press.
If you are ready to divide your culling time in half by being more purposeful during your shoot, we can help with that! We have an entire library of photography video tutorials, posing guides for girls and guys, and so much more in the A-List shop!


+ show Comments
- Hide Comments
add a comment